Drawing a tow truck is not only an artistic endeavor but also a valuable skill for business owners in the towing and automotive industry. Visually representing your services can enhance marketing materials, customer interactions, and branding. This guide breaks down the drawing process into clear, manageable steps to help you create an impressive representation of a tow truck.
From Boxy Chassis to Lifting Boom: A Fluid Guide to Drawing a Tow Truck
When you sit down to sketch a tow truck, you’re not just outlining a vehicle. You’re translating a practical machine into a clear, readable silhouette that conveys strength, purpose, and a hint of motion. The drawing process invites you to think in two big parts—the cab where the driver sits, and the flatbed or towing platform that anchors the heavy lifting. Begin with this mental frame and your pencil can flow with confidence, turning simple geometry into a convincing machine. Start by laying down the main body as a long rectangle that acts as the chassis and cab. On top of it, add a smaller rectangle or trapezoid toward the front to suggest the driver’s enclosure, then a short, angled rectangle for the windshield and a slim roof line that hints at the cab’s silhouette. This initial skeleton is not a finished car; it is a map, inviting adjustments as proportions settle. The goal is balance: the cab should feel grounded, the towing apparatus at the rear should feel capable of lifting weight, and the whole composition should read as one sturdy vehicle rather than a jumble of parts. With light strokes you can draw in the towing platform—the boom—extending from the back of the main body. Let it rise at a natural angle, sweeping outward and upward, which helps convey its functional reach. End the boom with a small square or rectangle to indicate the winch mechanism, and add a few short lines radiating away from it to suggest cable. These lines become the micro-details that tell the viewer this is more than a static box; it’s a tool built for action. Now turn to the wheels, which anchor the truck in the world. Draw two larger circles under the cab for the front wheels, slightly flattened at the bottom to imply contact with a surface. Beneath the flatbed, add four wheels—two on each side—positioned to suggest sturdy weight and proper weight distribution. Inside each wheel, place a smaller circle for the hubcap; this detail grounds the wheels in realism without complicating the drawing. When you’re satisfied with the mass and alignment, shift to the interior and edges. In the cab you can sketch a few window panes with simple vertical and horizontal lines, a curved windshield, and modest mirrors on the doors. A tiny grille or bumper notch at the front and a couple of headlights can be suggested with simple shapes, avoiding excessive detail that might distract from the overall silhouette. The real charm comes from the balance between clarity and nuance. Don’t crowd the line work with every bolt; instead, hint at texture with light shading along the lower edges, under the chassis, and where the boom meets the cab. As the sketch begins to read as a real tow truck, you can add finishing touches that do not overwhelm. Consider a few straps or chains along the flatbed to imply the securing process, or a small company-style logo and text along the bed. These touches make the drawing feel purposeful rather than decorative, and they invite the eye to travel from the cab to the rear mechanism and back again. If you want to push the image toward realism, gradual shading under the boom and along the wheel wells can suggest curvature and depth, while leaving the top surfaces lighter to hint at light catching on metal. Finally, decide how you want your tow truck to be colored. Classic choices—red, yellow, white, or blue for the cab—paired with gray or metallic tones for the flatbed and boom, can emphasize the machine’s industrial nature. Use color strategically to highlight the boomed arm or the winch line, guiding the viewer’s gaze through the essential features. For those seeking a practical reference while drawing, a real-world page that presents these ideas in stepwise fashion can be useful. You can visit a dedicated resource page on a tow-truck topic here: tow-truck-houston. And for additional inspiration, the broader visual guide on how to draw a tow truck from a renowned automotive reference offers useful perspectives on composition and proportion: https://www.caranddriver.com/features/a50798918/how-to-draw-a-tow-truck/.
Sketching a Tow Truck: From Simple Shapes to the Lifting Boom
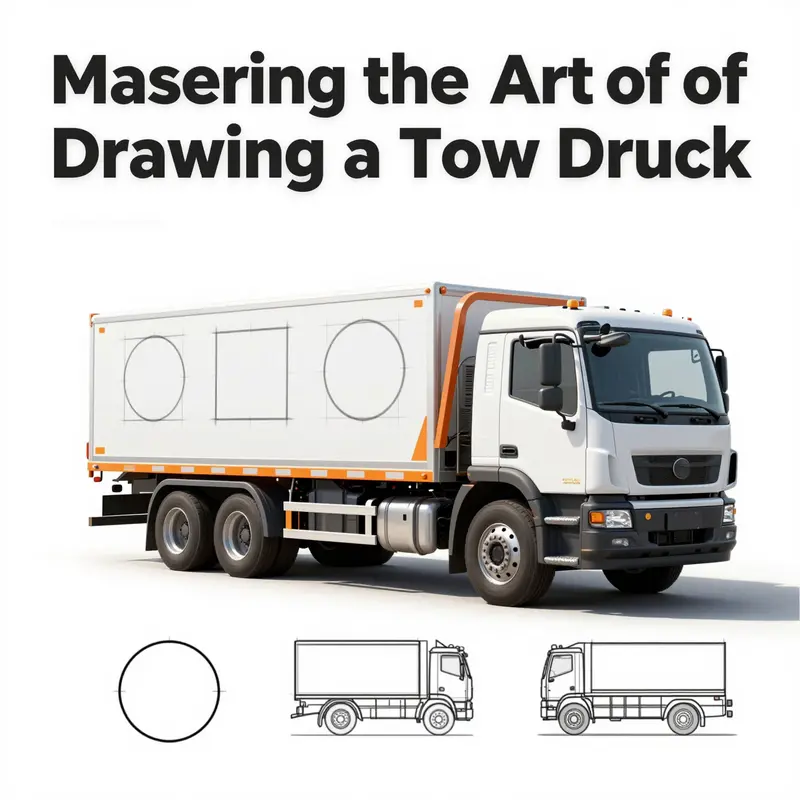
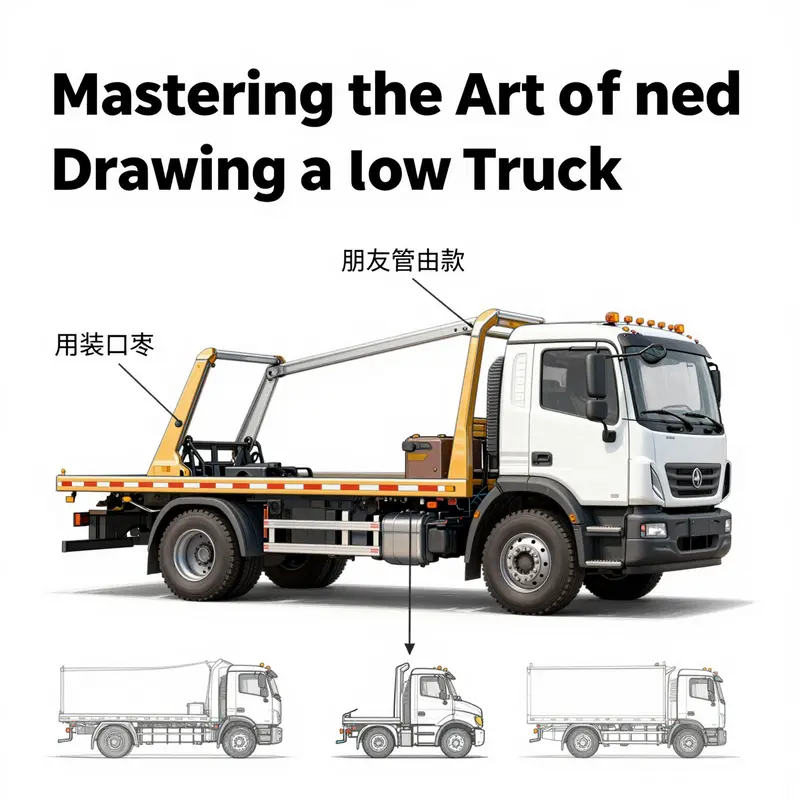
Drawing a tow truck begins with a quiet agreement between eye and hand. The most convincing sketch starts from foundational shapes: a long, slightly tilted rectangle for the chassis and a smaller box at the front for the cab. Lay down these two volumes, letting the main body read as length and weight while the cab settles near the leading edge. Imagine the vehicle as blocks you will translate into continuous lines. Keep lines light at first so you can adjust proportions easily as your idea of the machine forms. Treat the truck as three parts—the undercarriage, the cab, and the lifting apparatus—and you’ll have a coherent framework before you add detail. Establis h proportions and perspective next. The cab should feel smaller than the rear body, and a touch of perspective helps the drawing breathe. Let the front edge appear slightly larger than the back to imply depth on a flat page. This small shift makes the image read as a tow truck, not a generic vehicle. Don’t rush the outline; pause to check alignment and nudge the blocks until the eye travels smoothly from cab to boom. Use a light mental ruler to compare lengths of the cab and platform as you sketch. With practice, your lines will hold a steady rhythm from start to finish.
Add wheels and axles to anchor the form. A tow truck typically has two wheels under the cab and two pairs along the main body, so place four circles on a shared baseline. Inside each wheel sketch a smaller circle for the hubcap and a few faint lines for tread. The wheels should align with the chassis so the vehicle sits solidly, not perched. A soft shadow under the arcs reinforces contact with the ground and helps the model feel grounded.
Now the signature machinery comes into focus. The winch is drawn as a circular drum near the front bumper, with a thick cable curling away. From the rear portion, extend a long boom that ends with a hook. These elements are the visual fingerprints that identify the vehicle as a tow truck. Don’t worry about every link in the chain; a few short lines from the drum can imply the cable, and a straight beam with a slight bend can show the reach. The boom may tilt to suggest height, keeping the shape lively. Check their distance from cab and wheels to preserve believable scale. Keep the cable taut in your mind even if you draw it as a simple line, a reminder of the mechanism’s purpose.
Refine the outline and texture once the major forms sit correctly. Go over contours with a darker pencil, then erase stray marks. Texture can be suggested with short strokes along the sides to hint at metal panels. Add small details like side mirrors, door handles, and a license plate to lift realism without crowding. The winch drum, the cable, and the boom should read clearly, while the cab’s windows catch a simple highlight to imply glass.
Color and shading finish the scene. Tow trucks are often depicted in bright colors for visibility, with neutral wheels and chrome-like accents. Use shading to ground the vehicle: darker tones under the chassis, around the wheels, and in the shadows cast by the cab and boom. Layer soft gradients to suggest curved surfaces on the cab and lifting arm. If you want realism, tint the windscreen with a cool gray to imply glass catching light. Keep the palette controlled; a few deliberate contrasts highlight the machine’s functional geometry without overwhelming the lines. Experiment with two-tone schemes and subtle accents to suggest different brands or service roles.
With steady practice, these stages become intuitive. The simplest toolkit—a handful of rectangles, two circles, and a couple of lines for the winch—often yields the most convincing result. If you’d like a concrete example of how these ideas translate, you can explore tow-trucks-in-houston. The page provides context on the vehicle’s structure and typical shapes, reinforcing what you’ve learned. As you refine your approach, remember that the joy lies in turning a static arrangement into a believable machine, and the tow truck’s lift rewards careful observation and precise line work. Soon you’ll be able to sketch quick thumbnails that capture the essential pose of the tow truck boom.
Keep the pace steady, and your hand will translate function into confident strokes. For more guidance, see external resource: https://www.doodleart.org/draw-tow-truck
Polish and Shine: Color, Contour, and Cleanup for a Lifelike Tow Truck Drawing
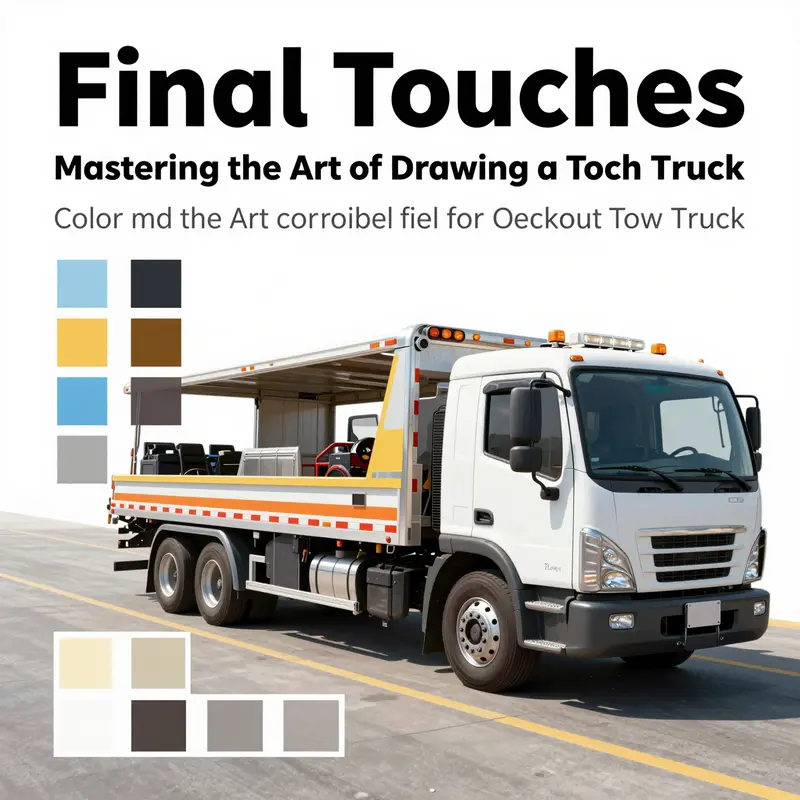
The final touches on a tow truck drawing are where light, texture, and line quality come together to transform a solid sketch into something you’d show off. After you’ve built the basic shape and positioned the tow arm, the job now is to make the form read clearly under a consistent light source and invite the viewer to linger on its details. Start with a plan for color that respects the truck’s geometry. Think about the body as a sequence of planes—top, sides, and curved panels—each catching light a little differently. For many traditional tow trucks, a bold body color works well, but you don’t need to commit to one shade from the start. Consider laying down a light base of the body color first, then gently map where shadows will fall along the undercarriage, the inside curves of the fenders, and the edges of the doors. That approach keeps large sections uniform while still giving you room to introduce depth later. When you pick a light source, imagine it coming from the upper left. This guides where highlights should kiss the chrome on the winch, where the cab glass will gleam, and where the darkest shadows anchor the vehicle to the page. The key is to avoid flat, even blocks of color. Instead, build color in subtle layers so transitions between highlight and shade feel natural, not forced. If you’re using markers, switch to a lighter marker to feather edges and blend where panels meet. If pencils are your tool, a light hand with a blending stump can smooth gradients without muddying them. The goal is a gentle, almost tactile surface that hints at metal, glass, and rubber rather than smearing everything into a single tone. As you progress, think about the different textures you’re rendering. The body panels should be sleek and slightly glossy; the cab glass needs a crisp, reflective surface; the winch and metal supports demand a cool metallic sheen. A practical technique is to add a narrow white highlight along the top edge of the cab and the upper rail of the towing arm. This tiny line can become the visual cue that the light is bouncing off metal, enhancing the sense of form. For chrome or steel parts, a blend of cool grays with a touch of pale blue can mimic the way real metal reflects surrounding colors. Small, deliberate white or near-white streaks can simulate sun catching on rivets, bolts, and the edge of the platform. Don’t neglect the tires, which anchor the drawing in gravity. A simple approach is to render the tire with a dark core and a lighter rim, then add a couple of short, curved lines to suggest treads and reflections. This keeps the wheels from receding into black silhouettes while preserving their mechanical feel. After color, cleanup is your next essential step. Clean lines sharpen the reading of the tow arm, the clevis, and the hoist hook. If you’ve left stray graphite dust or smudges during coloring, gently erase them with a soft eraser and then re-darken any lines that have weakened. A fine-tipped white gel pen can add crisp highlights on chrome details or plate edges, giving the drawing a professional, finished edge without overpowering the overall tonality. A final pass with a clean pencil line can unify the silhouette, ensuring the cab and body lines stay distinct from the winch assembly. If you want the piece to feel as if it could exist in a real city street, keep the background minimal. A pale wash or a soft shadow beneath the truck helps anchor it and prevents the figure from floating. When you’ve reached this stage, you’ll notice the work has moved from a simple schematic to a living, breathing illustration. For readers seeking a practical reference, a quick glance at real-world service vehicles can sharpen your eye for the correct proportions and the gear’s placement on the chassis. If you’re curious to compare silhouettes or study common configurations, you can explore examples like tow trucks in Houston. The drawing becomes not just an exercise in shape but a study in how color, texture, and line work together to tell a compact mechanical story. For further technique inspiration, an external resource offers tips on color coverage and shading that can complement your practice and help you push toward a more confident finish: https://www.artskool.com/tow-truck-coloring-tips. Through careful color layering, mindful highlights, and precise cleanup, your tow truck drawing can shift from a neat concept to a polished, display-ready illustration.
Final thoughts
In conclusion, drawing a tow truck can be an enjoyable skill that allows business owners to express creativity while also enhancing marketing strategies. By following the structured steps outlined, mastering techniques with basic shapes, and applying thoughtful details, you can successfully create an appealing visual representation of a tow truck. The final touches with color and cleanup techniques will elevate your drawing, making it a great asset for branding and communication purposes. Embrace your artistic journey and see how it can positively impact your business!